How to Apply Lime Plaster: Step-by-Step Guide for Smooth, Natural Wall Finishes (2025)
- Royal Touch
- Nov 25, 2025
- 4 min read


The Return of Lime Plaster in Modern Indian Design
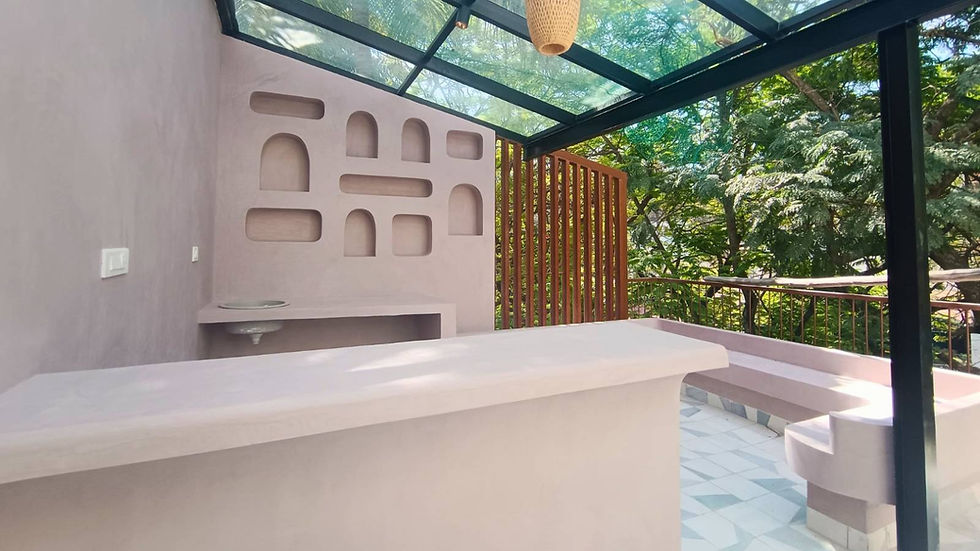
Lime plaster has been used across India for centuries — from Rajasthani havelis to Chettinad mansions — and today, it is making a major comeback in modern luxury homes, boutique cafés, contemporary villas, and interior studios.
Unlike synthetic paints, lime plaster is breathable, VOC-free, naturally mould-resistant, and develops a beautiful matte patina over time. Its ability to create seamless, natural, and durable wall finishes makes it one of the most searched-for materials among:
✔ Architects
✔ Interior designers
✔ Luxury homeowners
✔ Eco-conscious builders
Lime finishing plasters are applied in ultra-thin layers (1–1.5 mm) and can achieve:
Smooth matte walls
Subtle textures
Soft cement-look finishes
Handcrafted luxury surfaces
This step-by-step guide will show you exactly how to apply lime plaster, the expert techniques involved, and common mistakes to avoid, helping you achieve flawless, long-lasting, natural wall finishes.

Step 1 — Surface Preparation: The Secret to a Perfect Lime Plaster Finish
A perfect finish always begins with a well-prepared surface.
✔ Clean the Surface
Remove all dust, loose particles, oils, old paint flakes, or any contaminants.
✔ Ensure Even Absorption
Irregular suction leads to patchy finishes.
Apply two coats of water-based primer to stabilize the surface and ensure uniform absorption.
✔ Correct Undulations
Any bumps visible at this stage will show in the final finish.
Smoothen the wall using fine sandpaper or a skim coat if required.
Expert Tip: “Lime plaster magnifies craftsmanship — the better the base, the better the finish.”
Step 2 — Mixing Lime Plaster: Getting the Perfect Consistency
The mixing stage decides the workability and performance of the plaster.
✔ Prepare the Mix
Combine lime plaster powder with clean water in the correct ratio.
✔ Mix Thoroughly
Blend for 5–10 minutes until smooth and creamy. No lumps. No graininess.
✔ Let the Mix Rest
Allow the mix to sit for a few minutes to improve hydration and workability.
Expert Tip: Always use clean buckets and trowels. Contaminants ruin the finish.
Step 3 — Applying the Base Coats: Building Strength Layer by Layer
First Coat (Scratch Coat)
Apply a thin, uniform coat of lime plaster over the prepared substrate.
Keep strokes even
Maintain consistent thickness
Smooth out undulations immediately
Even the slightest unevenness in the base coat will reflect through the final coat.
Second Coat
Apply the second coat when the first coat has dried 40–60%.
Apply earlier → polished, subtle, more refined texture
Apply later → deeper, rustic, tactile finish
Use smooth, steady trowel strokes to maintain a consistent thickness of 1.5 mm.
Expert Tip: “Your second coat defines the visual quality — take your time with this layer.”
Step 4 — Finish Coat: Achieving the Final Lime Plaster Aesthetic
Once the base coats are dry, apply the finishing layer.
✔ Allow Complete Drying
Let the surface dry overnight or longer, depending on climate (Bangalore, Kerala, Goa & Chennai have slower curing due to humidity).
✔ Do Not Overwork
Over-troweling causes premature drying and micro-cracking.
✔ Seal
For certain finishes (like cement-look or washable surfaces), a breathable matte sealer can be applied.
Pro Tips for a Flawless Lime Plaster Application
Apply thin layers only — thick coats crack.
Maintain consistent wall moisture.
Avoid strong fans or direct sun while curing.
Use traditional trowel techniques for better movement.
Let each coat dry fully — don’t rush the process.
Common Mistakes to Avoid (That Can Ruin Your Finish)
❌ Skipping cleaning → poor adhesion
❌ Wrong mix ratios → weak plaster
❌ Thick coats → cracking, slumping
❌ Insufficient drying → flaking, peeling
❌ Over-troweling → micro-cracks
Lime Plaster in India: Tradition Meets Modern Minimalism
Lime plaster is no longer limited to heritage conservation. In 2025, it is embraced for:
Retail stores
Tadelakt bathrooms
Studio walls
Accent walls
Its natural breathability and seamless aesthetic make it ideal for India’s climate — especially Bangalore, Kerala, Goa, Chennai, Hyderabad.
Why Architects Choose Lime Plaster
Fewer cracks
Breathes with climate
Matte, natural, warm
Sustainable & VOC-free
Ages beautifully
Looks more premium than synthetic cement textures
And for clients wanting a cement aesthetic, lime plaster can achieve:
Soft cement look
Warm grey pigments
Microcement-inspired movement
Zero shine
This makes lime plaster the new favourite for luxury modern walls.

Royal Touch — Specialists in Lime Plaster & Natural Finishes in India
Royal Touch provides:
Custom textures & pigments
Soft cement-look lime plaster
Smooth matte lime finishes
Tadelakt-style wet area finishes
Skilled artisans
Climate-appropriate curing
Perfect substrate preparation
Sample boards & mockups
We help architects and interior designers achieve timeless, natural walls that stay beautiful for decades.
FAQ — Lime Plaster in India
1. Is lime plaster suitable for modern homes?
Yes — lime plaster is one of the top choices for modern, minimalist, and natural interiors.
2. How many coats of lime plaster are needed?
Usually 2–3 thin coats (1–1.5 mm each).
3. Does lime plaster crack?
Only if applied too thick or dried too fast. Proper application avoids cracking.
4. Can lime plaster look like cement?
Yes — it is the best alternative to real cement finishes.
5. Is lime plaster good for Indian humidity?
Absolutely. It is breathable and ideal for high humidity regions like Kerala, Goa, and Chennai.
Ready to transform your walls with premium lime finishes?